Guide to Adding an XML Sitemap to Google Search Console
- Northwall Consulting

- Nov 2, 2023
- 2 min read
Updated: Nov 3, 2023

Adding your XML sitemap, something that may be overlooked
Adding a sitemap to Google Search Console is a key move for any website owner looking to improve their site's visibility to Google. Here’s how to do it effectively:
Domain Verification:
If you haven’t used Google Search Console before, you'll need to add your domain. Go to the Google Search Console, click ‘Start Now’, and follow the instructions to prove you own the website. This may involve adding a special code to your website or updating DNS settings.

Step 1.
Find Your XML Sitemap:
Your XML sitemap is usually found at www.yourwebsite.com/sitemap.xml. If it’s not there, try a Google search with site:yourwebsite.com filetype:xml or look in your robots.txt file.

Step 2.
Go to Sitemaps:
In the Google Search Console, find the "Sitemaps" menu on the left under "Index". This is where you’ll submit your sitemap.

Pro Tip 1. Remove Old Sitemaps: If there are any previous sitemaps listed, remove them to avoid confusion. You’ll find this option by clicking on the three dots in the corner.
Step 3.
Adding Your Sitemap:
In the "Add a new sitemap" section, enter the URL path to your sitemap and press "Submit". Only the part of the URL after your domain name is needed here.

Step 4.
Wait for Google to Process your XML Sitemap:
Google will now check if your sitemap is readable. This process may take some time, so there’s no need to rush.
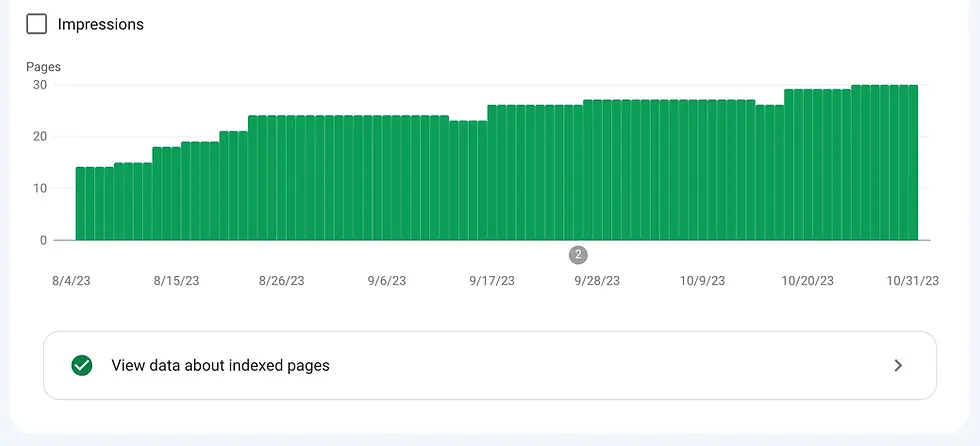
Good to know: You won’t need to resubmit your sitemap unless its location on your website changes. Keep an eye on the "Coverage" report in your Search Console to see how Google is interacting with your sitemap.
If you find yourself needing a bit more guidance, don’t hesitate to reach out. Our help is just an email away, and we’re here to help you navigate the process for a better online presence.
Read more about our service the Complete Digital Package: https://www.northwallconsulting.com/web-design-seo-social-media-services
Have a fantastic day!


Comments